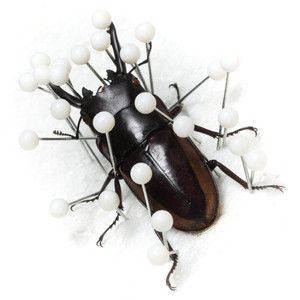
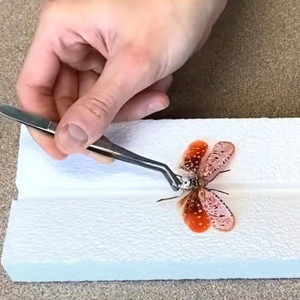
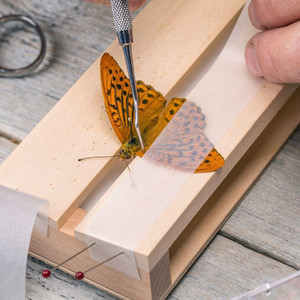
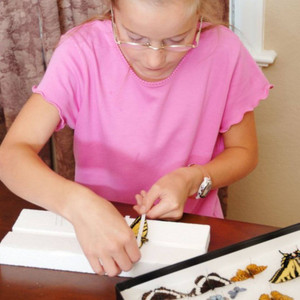
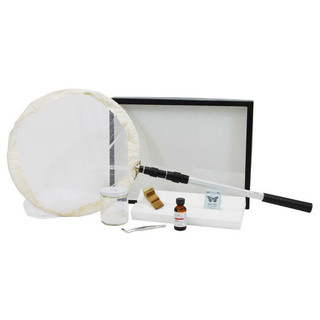
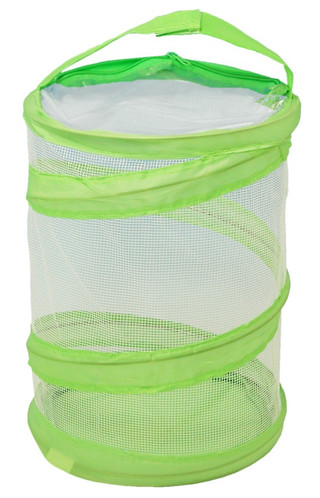
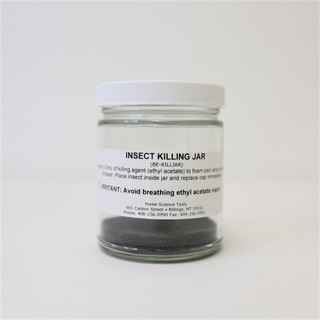
How to Pin and Spread Butterflies and Other Insects for Display

From an itty-bitty bed bug to a massive atlas moth, the world of insects is crawling (and flying!) with different specimens to discover. Making an insect collection is one of the best ways to learn about insects, as you’ll observe them up-close.

Step 1: Relax Insects Before Pinning

If it has been more than a few days since your specimens were collected, they will be hard, brittle, and almost impossible to pin without breaking or damaging them. To relax your insect specimens, you will need a plastic container with an airtight lid that is large enough to hold all of the insects you want to soften plus several layers of wet paper towels. The moisture from the wet towels will soften the bodies of the insects without harming or discoloring them. Follow these instructions carefully to soften insects before attempting to pin and spread them.
  1. Moisten a few paper towels with water (they should be wet all over but not dripping water) and lay them flat 2-3 layers deep in the bottom of the container.
  2. Set the largest and hardest insects on top of this layer (i.e. large beetles). Cover these insects with several more wet paper towels (again, wet all over but not dripping water) and place another layer of insects on top. Continue until all of the insects you need to relax are nested between layers of towels, ending with 2-3 layers of moist towels on the top. Be sure to layer the insects starting with the hardest ones on the bottom and ending with the softest ones at the top. Note: Handle the dried insects with care as they are very fragile.
  3. Close the lid tightly and move the container to a place where it will not be disturbed. Most butterflies and smaller insects should be softened in 2-3 days. Larger beetles and other insects may take 5-6 days or longer to soften enough to be pinned without breaking.
  4. Check the insects for flexibility by gently moving the legs after two days. Refresh any paper towels that may have dried out by sprinkling them with water. When an insect’s legs and antennae can be easily moved and its body does not feel brittle, the insect it ready to be pinned. Remove any insects that are sufficiently softened and proceed to the instructions for pinning and spreading. 


Step 2: Pin Beetles and Insects
After relaxing an insect, loosen its legs, antennae, and other moveable parts by gently wiggling them and then stretching them out. Use a toothpick, wooden probe, or teasing needle. (See Step 3 for butterflies.)
1
Insert an insect pin through the middle of the thorax (the middle section between the head and abdomen), slightly off-center to the right (Figure 1). Push the pin all the way through the insect’s body, then about ½” into the spreading board or another piece of Styrofoam board. The insect should typically be about half way up the pin or far enough above the spreading board so that you can freely position the legs.
2
Gently move the legs and antennae into the positions desired using a probe or forceps. This takes some patience. It may take several attempts before you are able to get a leg or antennae into the position you want.
3
Cross two pins over each other to hold each section of the limb in place to dry. It is easiest to first position a foot where you want it and pin it in place. Then you can move up the leg to position and pin each additional leg section using two more crossed pins. How you position the legs and antennae is up to you—some people like to pin their specimens in natural stances while others prefer a more creative stance. Let the insects dry for 1-2 days, or until the legs stay in position when the pins are removed.
4
Very carefully remove all pins except for the one through the insect’s thorax. This requires great care as the insect is now very brittle and fragile again. Removing a pin by pulling the wrong direction can break a leg or antennae.
5
Transfer the insect to the display case. Use the pin through the thorax to pin the insect into the display case. On larger, heavier insects you may want to use additional pins to keep the insect’s body from pivoting.
6


Step 3: Spread Butterfly and Moth Wings
After a butterfly or moth is relaxed, carefully hold the specimen under its thorax between your thumb and forefinger. Gently squeeze the thorax; the wings should separate slightly.
1
From the top, insert a pin through the center of the thorax. Pin the specimen to the spreading board by setting its body into the center groove of the board and pushing the pin ½” into the board. Slide the butterfly up or down the pin until the bottom of the wings are even with the top surface of the board.
2
Cut several strips of wax, tracing, or plain white paper (use new paper as used paper will get ink marks on your butterfly) about that are about 1-1/2” wide and 6” long. You will use these strips to hold the wings in place and keep them from curling as they dry.
3
Gently insert a sharp pin between the veins on the front edge of the left forewing and pull the forewing into place. Place a strip of paper over the left wing as shown in Figure 5 and insert pins to hold the forewing in place. Make sure you place the pins around the wing and not through it. Repeat with the right forewing. After both forewings are pinned you may have to reposition the butterfly to center it in the groove of the spreading board.
4
Now do the same thing with the hindwings. Use a pin inserted at the vein at the base of the hind-wing or use spade-tipped forceps to properly position the hindwings. Insert pins around each hindwing to hold them in place.
5
Cross two pins over each other to set the antennae in a “V” position. Also insert two crossed pins to hold the end of the butterfly’s body in up in its natural position if necessary.
6
Allow the specimen to dry for 1-2 days, or until the wings will stay flat when the pins are removed. Once the specimen is completely dry, very carefully remove the pins and paper strips and transfer the specimen to the display case. The specimen will be very fragile as it has already begun to harden again.
7


Step 4: Mount Specimens in a Display Case
  1. Remove the glass cover from the case and set it aside.
  2. Position your insect specimens one at a time in any arrangement desired. Start with the largest insects first and then add the smaller insects, leaving adequate space between each specimen.
  3. Push each pin securely into the foam in the bottom of the case.
  4. Replace the cover and stand the display case on a shelf, or hang it using the wall mounting hooks on the back.
$0.00
Tips and Other Things to Know
  • You can spread 2-3 butterflies or 5-8 beetles on your spreading board at one time, depending on the size of the specimens. • Sometimes you will need to rotate a butterfly’s hetypically ad to get it in the correct position. Hold it in place with pins. 
  • Once an insect is dry, a drop of white glue where the wings attach to the thorax or at the leg joints will reduce the possibility of an appendage falling off. Do this before removing the insect from the pinning board.
  • Be very careful when handling the specimens as they are fragile. Pay special attention to butterflies and moths, as the fine scales of their wings can be easily rubbed off, taking away from the color and beauty of the specimens.
  • Label your specimens if desired with a piece of paper (about 1” wide and 2” long) inserted on the pin below the insect. Include information such as species, common name, location collected from, and date collected.
Get Started With These Collection Kits and Tools